Falls of Bruar: Flow

One Saturday lunchtime several years ago, I spent a happy hour bugging the assistants in my local favourite camera shop, trying to find the ideal tripod.

Having visited the Falls of Bruar the weekend previously, I had a particular photo of the waterfalls flowing around the rocks in mind.

As usual, Manfrotto was the most recommended make. I tried to believe in them, honestly, but with no combination of legs, invertible centre-column and 3-dimensional head being sturdy enough for the camera of the time, I emerged with a Slik. (This process has been repeated with the same outcome a few times since.)

That afternoon, I went back to Bruar with my new tripod and totally failed to get the photo I wanted, but by dint of pointing the camera the other way staring down the gorge after sunset had happened and the light was fading – what’s come to be known as the blue hour – I wound up with a photo that would be my No.1 most-popular on Flickr for about 5 years.

That was “Raw“.

The first of these is “Flow”, the photo I intended to make in the first place.

Water close-ups

A small series of closeup studies in flowing water, taken on a stroll around the Falls of Bruar.

I’ve admired the striation lines  in the psammite riverbed below the lower bridge at the Falls many times – yet every visit they’re still fascinating every time.

Noctilucent Clouds, Perth, 20150623

A classic location for long-exposure night-time photography: standing on the bridge over the M90 at Rhynd, with the road snaking away into the distance… and a clear display of noctilucent clouds above Kinnoull Hill.

From wikipedia:

Night clouds or noctilucent clouds are tenuous cloud-like phenomena that are the “ragged edge” of a much brighter and pervasive polar cloud layer called polar mesospheric clouds in the upper atmosphere, visible in a deep twilight. They are made of crystals of water ice. Noctilucent roughly means night shining in Latin. They are most commonly observed in the summer months at latitudes between 50° and 70° north and south of the equator. They can be observed only when the Sun is below the horizon.

They are the highest clouds in Earth’s atmosphere, located in the mesosphere at altitudes of around 76 to 85 kilometres (47 to 53 mi). They are normally too faint to be seen, and are visible only when illuminated by sunlight from below the horizon while the lower layers of the atmosphere are in the Earth’s shadow. Noctilucent clouds are not fully understood and are a recently discovered meteorological phenomenon; there is no record of their observation before 1885.

Obligatory Zig-Zag

I remember when I first saw a contact of mine on Flickr produce a photo of this scene, quite a few years ago now – and it’s become quite the cliché since.

So, take your pick: wide-angle 16:9 or 5:4 aspect ratio similar to large-format? Black and white or colour (not so often used in longer exposures)?

Me, I liked the light – cool shades of dusk on one side of the concrete break-water, remains of a sunny afternoon on the other.

Bright Light / City


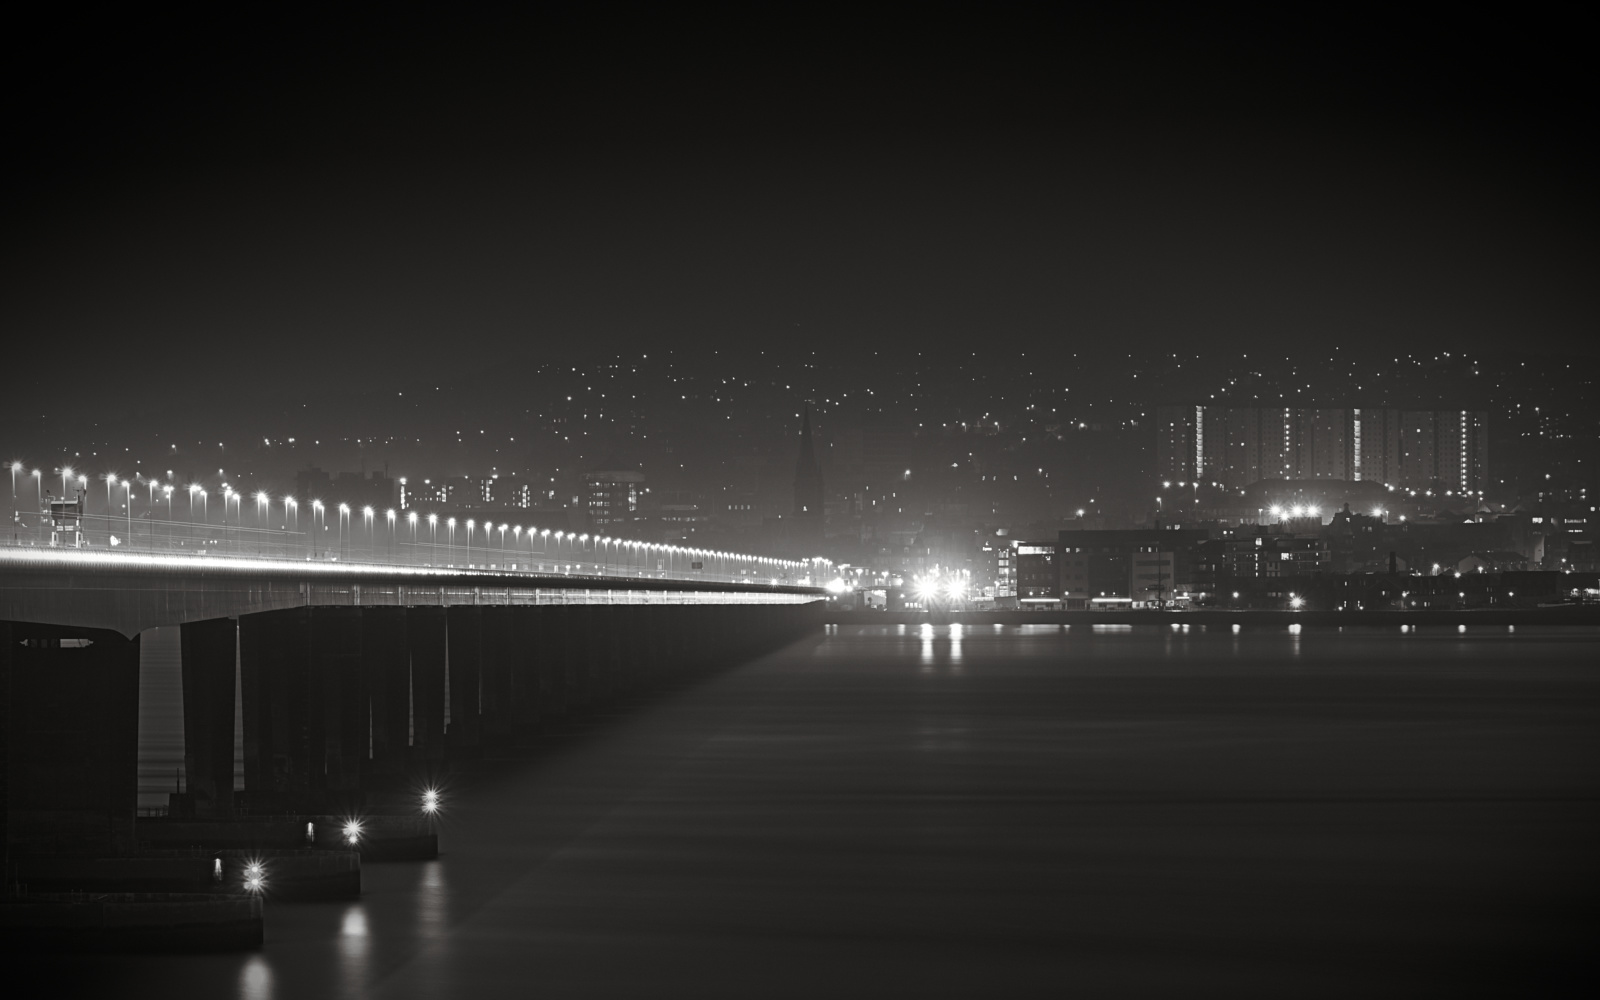
A fairly obvious shot from a viewing location on the south side of the Tay, the road bridge disappearing in a stream of lights flowing to Dundee in the fog. At night. As a long exposure, because it’s what one does, right?

Bright Light / CIty

Water: Around Loch Rannoch (3)

This one isn’t so much about the water as the mountain, Schiehallion. Back in 1774, its regular shape and relatively isolated location led to it being used in the famous experiment by Mason and Maskelyne to determine the value of the gravitational constant, big-G, and the density of the Earth.

Certainly it sits fairly impressively in the landscape.

Forth Railway Bridge

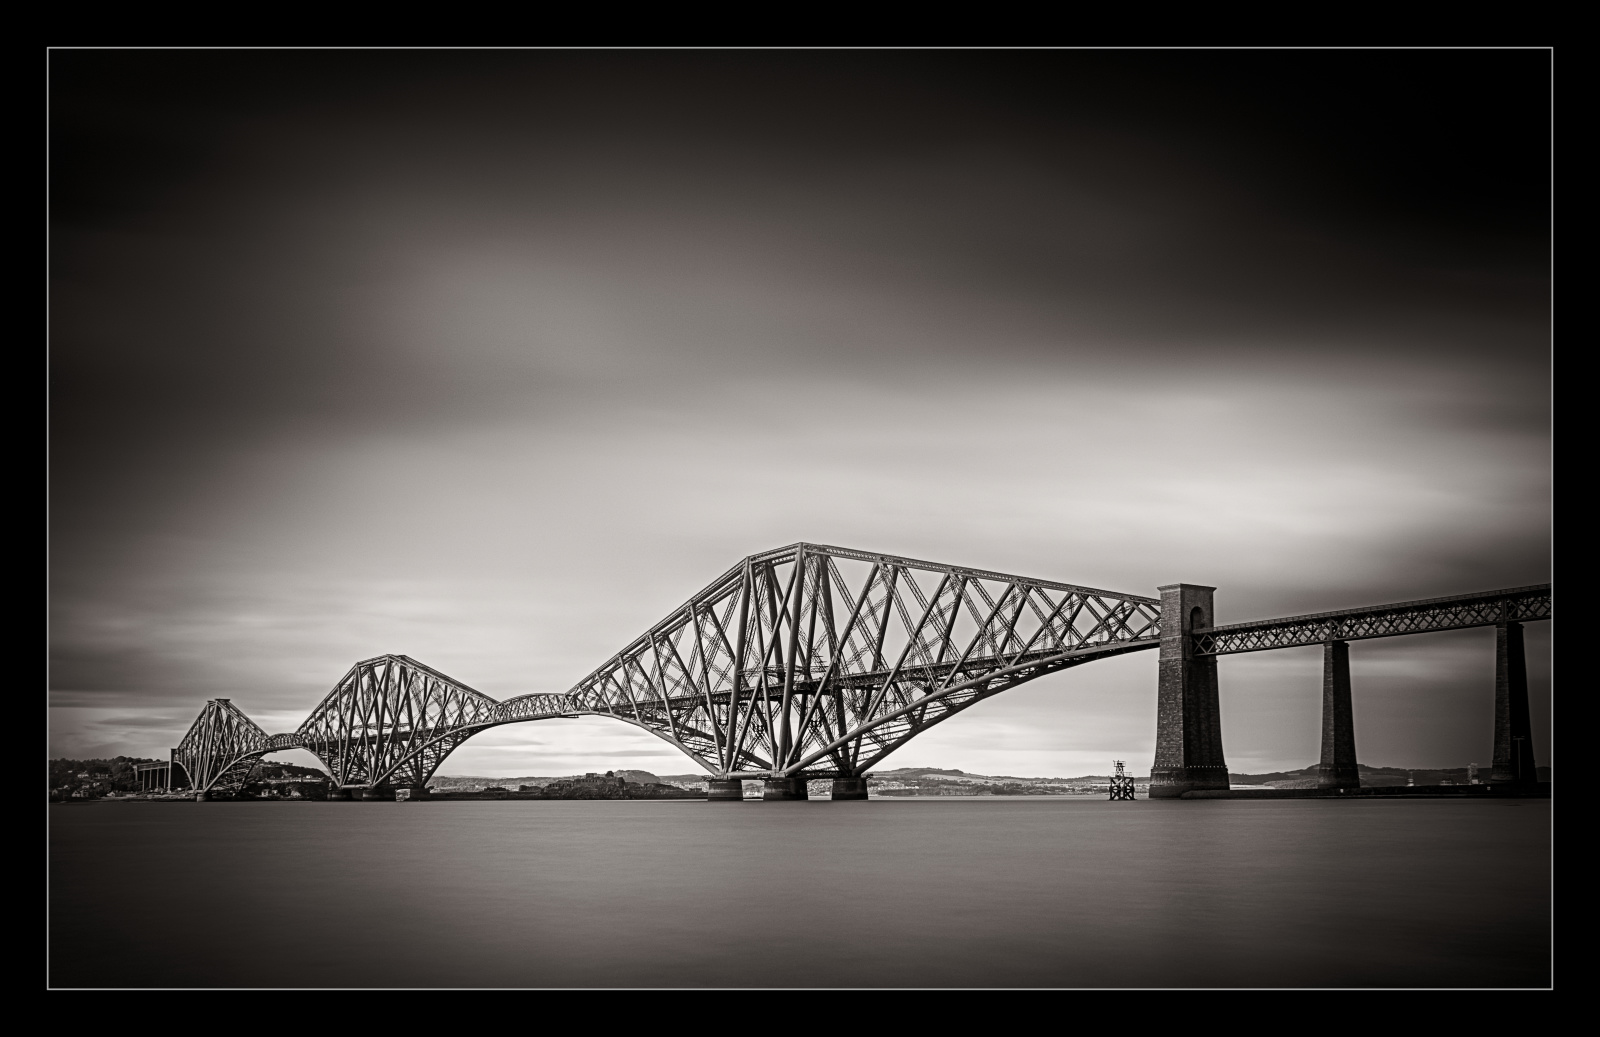
A friend of mine has regularly suggested that someone seems to dot road-signs saying “Take Photo Here” around the landscape. The view of the Forth Road Bridge from South Queensferry is one location where such a sign would not be out of place, but still, heading home from Edinburgh late one afternoon, it had to be done.

A classic shot - a long exposure black and white image of the Forth Railway Bridge from South Queensferry

A classic shot – a long exposure black and white image of the Forth Railway Bridge from South Queensferry

What It Looks Like

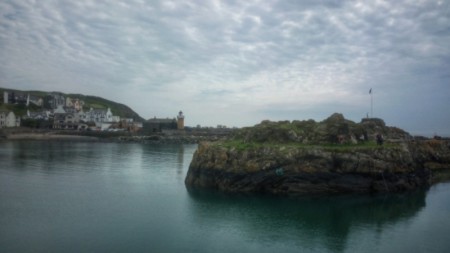
Two views of Portpatrick from the middle of the harbour; one taken on the mobile and processed as usual with snapseed:

wpid-img_20140527_143310_1.jpg


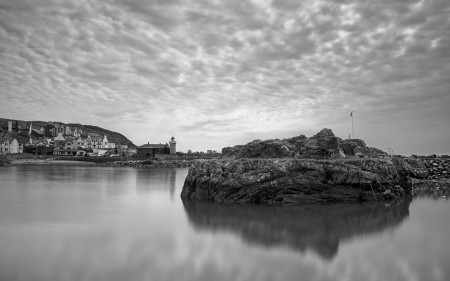
and the other on the Sony NEX-7 with an ND1000 filter to give a long exposure brushed silver water and hint of movement in the clouds, processed with Photivo and Darktable (amongst other things):

Portpatrick Harbour under a mackerel sky

Portpatrick Harbour under a mackerel sky

Welding Glass and Rubber Bands

Sometimes, one feels the need to make long-exposure photos (15s+) during daylight. One option is to buy a Lee Big Stopper, Hitech 100 ND1000 or other neutral-density filter, but these are far from cheap. Alternatively, one could stack a bunch of cheap ND filters on top of each other (ND8+ND4 etc), but then the image-quality suffers and there may be significant magenta colour tints. Further, as the degree of filtration increases, the necessity of preventing light-leaks around the edges of the filters also increases.

Enter the cheapskate: welding glass. According to my experiments, this stuff will pass a tiny fraction of the light from the scene, extending exposure time by 10-11 stops. Admittedly, it more than just tints the scene, it colours it a thick sludgy lurid green, seriously reducing the colour bit-depth in the red and blue channels. Further, it might not fit a regular filter holder.

Hence, a rather complicated shooting and processing methodology.
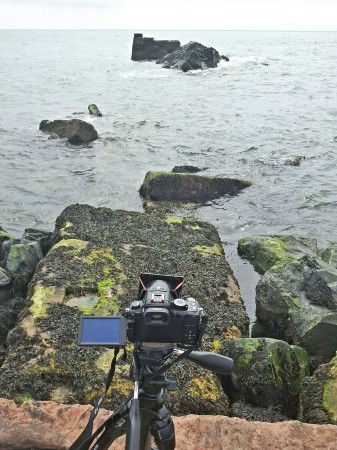
Perpetrating long exposures

Perpetrating long exposures, complete with rubber bands and welding glass.

When out in the field, if the lens-hood can be inverted, you can use rubber bands to hold the welding glass in place. First advantage: the filter is as close to the lens as it can be, so no light leaks.

Second, we shoot a panorama. In this case, the scene exposure varies with height in the intended finished scene; thus, we choose a vertorama where individual shots are taken in landscape orientation, working up from foreground rocks at the bottom (longer exposure times) to sky at the top, because this keeps the contrast-ratio low in each individual frame. In all, 16 images were shot whilst panning the tripod in the vertical axis, totalling 186 seconds of exposure time.
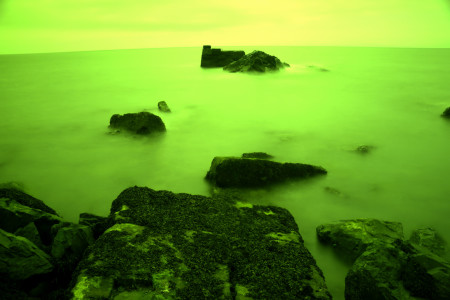
_1400156

A single source image showing the lurid welding-glass green “tint” and massive lens distortion.

These images were processed in Photivo, using one of my standard presets with corrected white-balance, minimal but adequate noise-reduction (Pyramid algorithm) and Wiener sharpening. Lens distortion, whilst acute, is not addressed at this stage.

Top tip: in scenes such as this, the water just below the far horizon is the closest to an average grey in the light, and makes a good reference for spotting white-balance.

Stitching is done in Hugin, where the considerable distortion from a cheap wide-angle kit zoom lens can be optimized out – the horizon line, bowed to varying degrees by angle of inclination, becomes straight almost by magic. Further, Hugin was set to blend the images using enfuse, which allows selecting pixels to favour both exposure and image entropy – this simply chooses the pixels closest to a midtone, constituting a simple natural HDR.

Second advantage: we’ve just solved lens vignetting as well, because the pixels that were in one image’s corners can be taken from mid-edge pixels in other images.

The output from Hugin’s panorama stitching is a realistic and natural reference image.

From there, it falls to the usual odyssey of post-processing, mostly using Darktable to chose the finished appearance: crop to square, a conversion to black and white (with 80% orange filter), high-pass sharpening and spatial contrast parameters (fourier-space) and a low-pass filter in multiply mode coupled with tonemapping to even-out the large-scale contrast whilst retaining lots of local detail, grad-ND filter applied to retain some contrast in the sky, etc.

At this point, let’s pause to consider the alternatives. Pick an amount of money: you can spend as much as you care to mention on a dSLR to get, maybe, 24 megapixels. What little you have left over can be spent on a sharp lens and a 10-stop ND filter. Now consider taking one image of 3 minutes’ exposure and processing it in some unmentionable popular proprietary processing software. First, the rotation to straighten the horizon and crop from 3:2 aspect-ratio to square are going to cost you about 35% of the pixels, so that 24 is down to 15 megapixels. Then performing noise-reduction is going to cost per pixel, ie the bit-depth is reduced by maybe 2 (on average) from 12 or 14 bits per pixel per channel. Further processing will remove hot and dead pixels. All this is before deciding to process for a particular appearance – we’re still working on a good reference image and the data is vanishing with every click of the mouse, and what little we’re left with is tainted by algorithmic approximation rather than originating with photons coming from the scene.

By performing the panorama routine, the equipment can be much cheaper: a 15-megapixel sensor with poor bit-depth and yet the archive processed image is 22.5 megapixels, all of them good, originating more from photons than approximation.

And it looks pretty good, too:
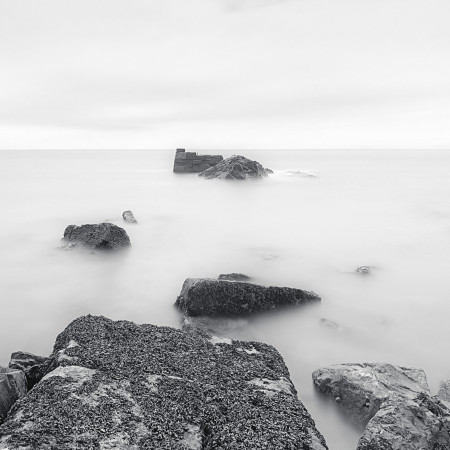
There Is No Boat.

There Is No Boat.

As an aside, a small boat sailed right around and through the scene while I was shooting the panorama. Because all of the images were fairly long, it left no noticeable impression on the resultant image at all.

[Some product links may be via the Amazon affiliate programme.]
ISS

I did only say this blog would be mostly mobile photography. Time for something a little different.

Thanks to a tip-off from a Facebook page and some friends in Leeds, a couple of nights ago I watched the International Space Station passing overhead for the first time. I didn’t know what to expect; the magnitude (-3.0) hinted at it being “incredibly bright”, and indeed so it was. Bearing in mind I had no idea what to expect, the less said about those attempts at photographing it, the better.

But last night, I investigated further using Heavens Above and saw another passing was scheduled for 2329hrs. Seeing the weather conditions were favourable, I chose a location toward the top of a nearby hill and stood around to wait.

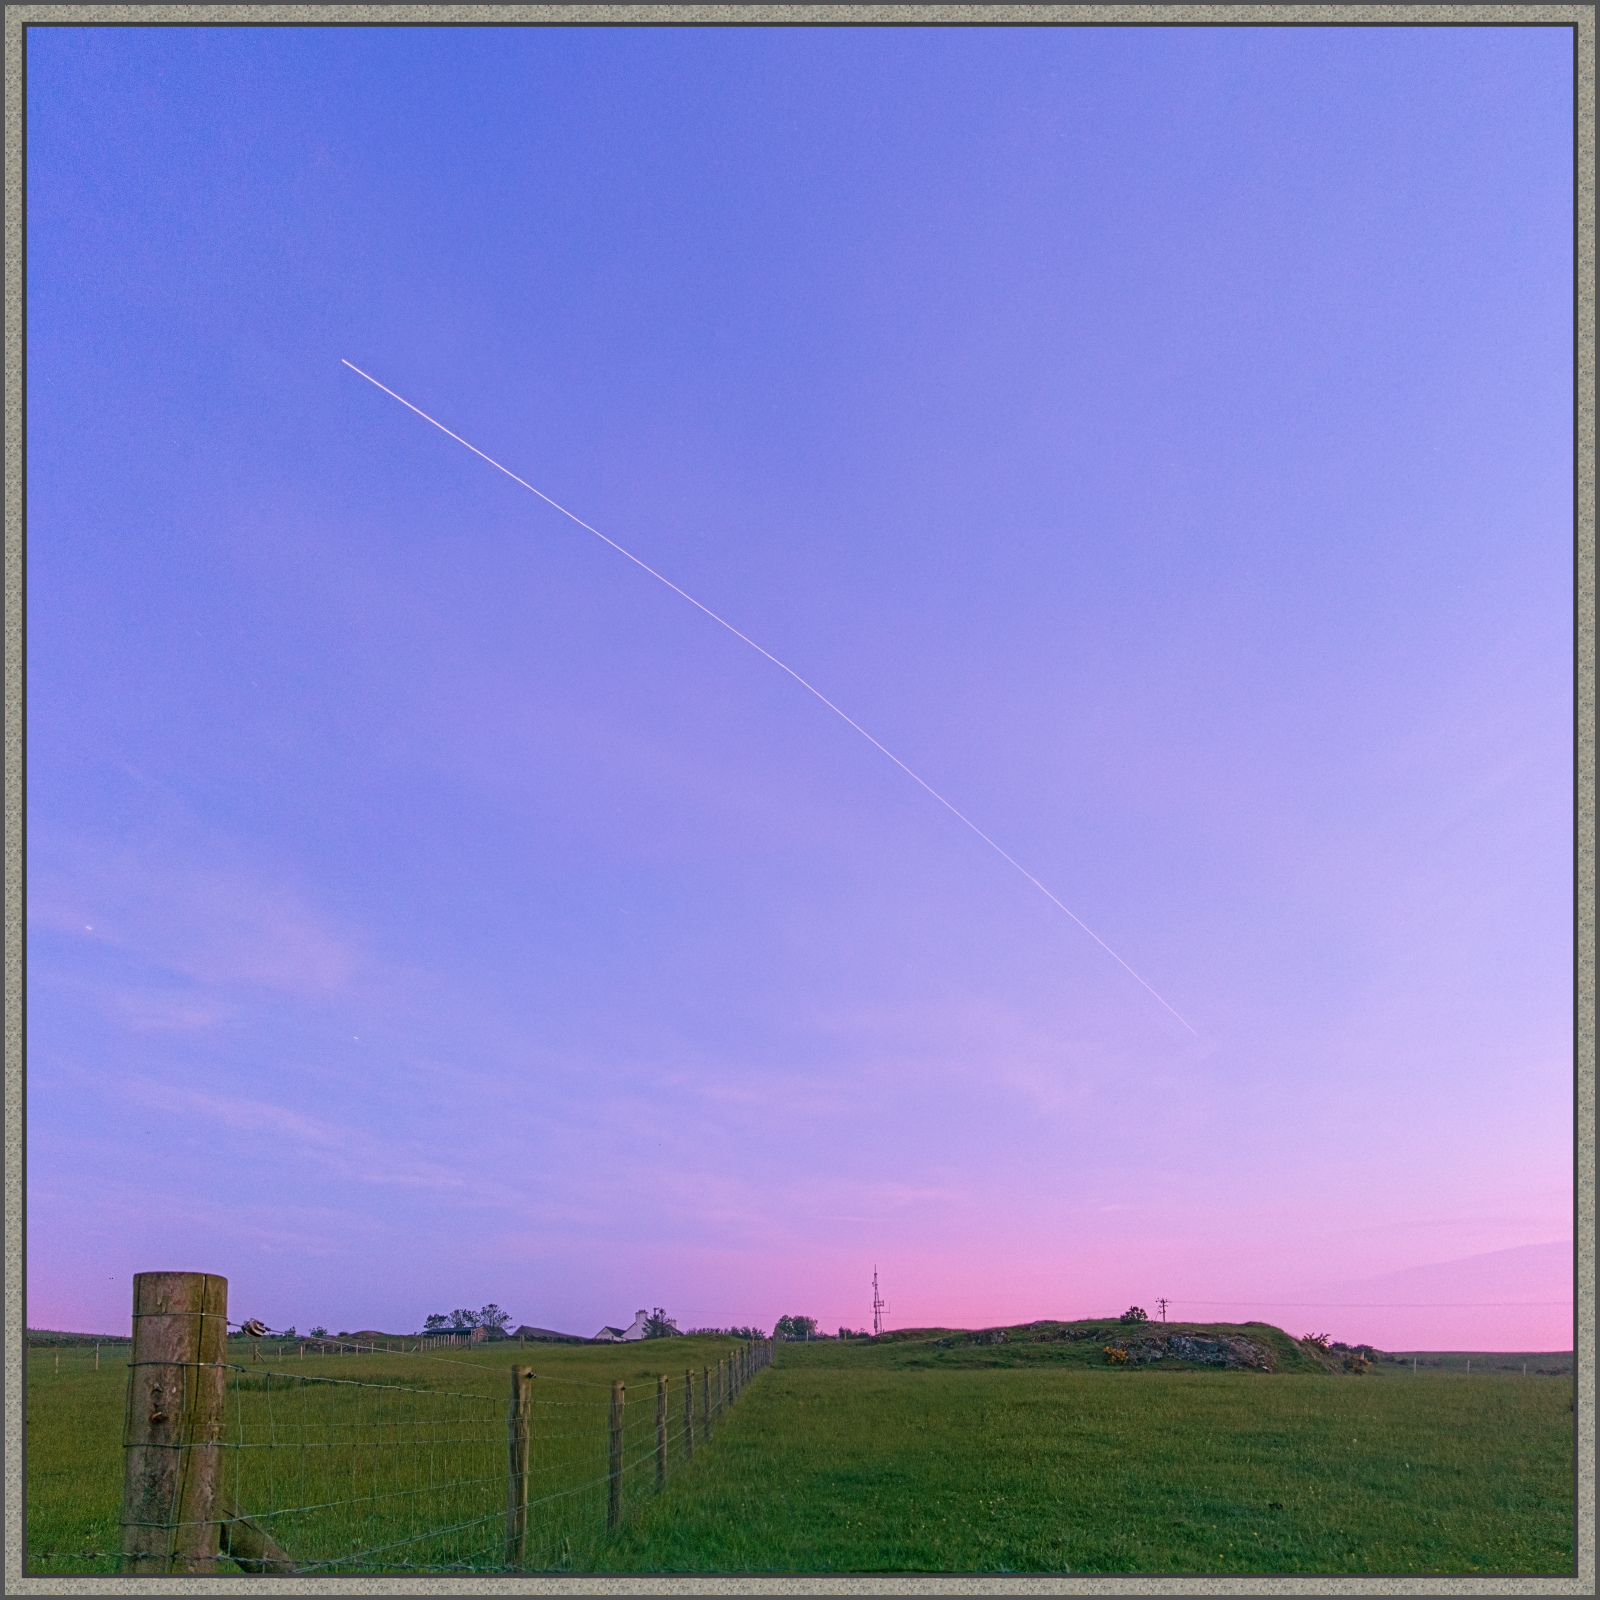
Approaching from the west:

The International Space Station approaching from the west

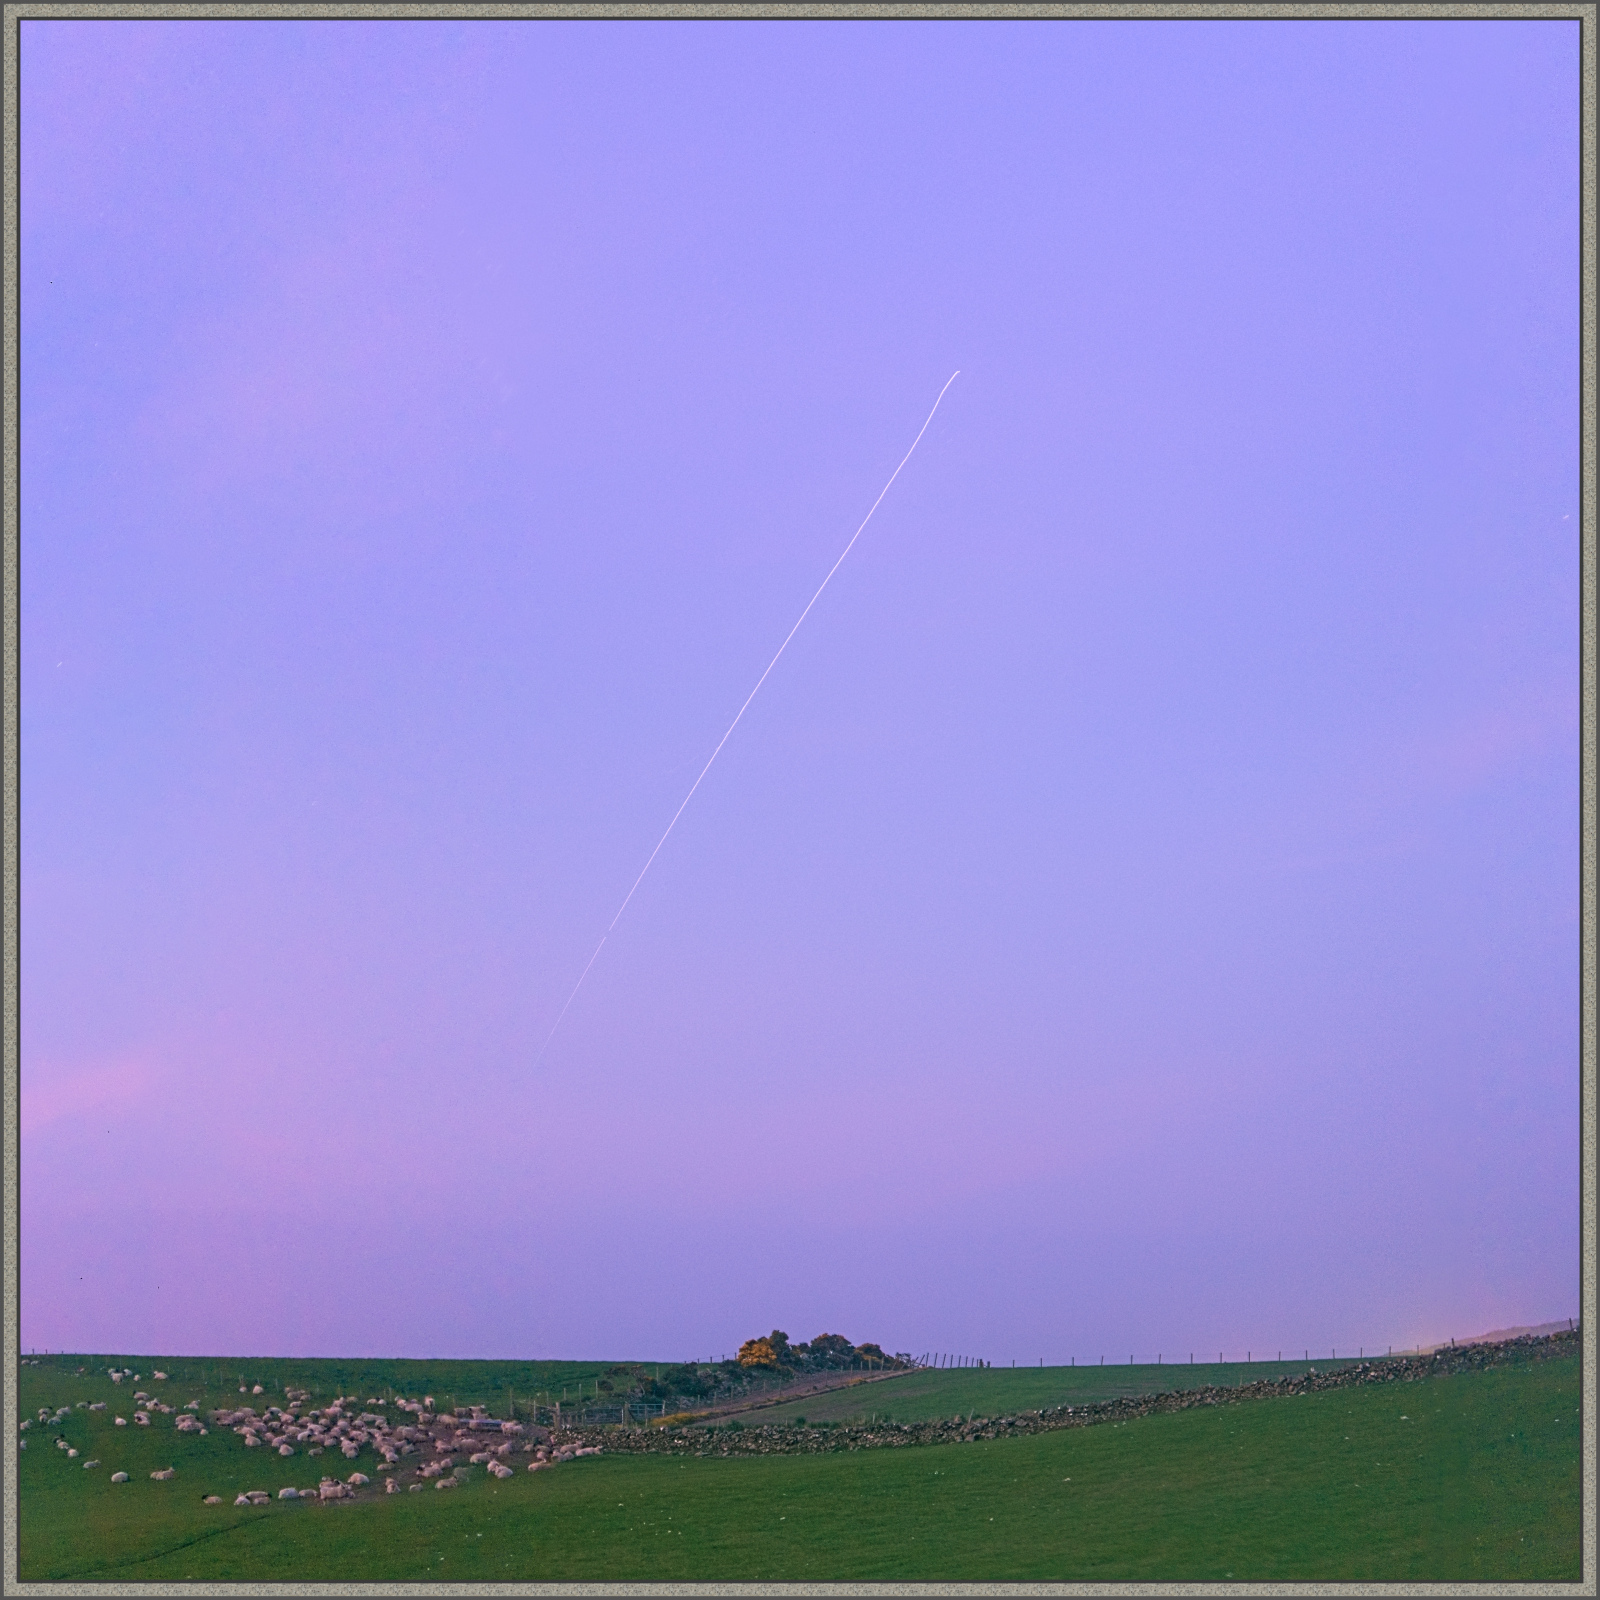
disappearing toward the east:

The International Space Station approaching departing to the ESE


Some notes on the image processing:

The approach image comes from 6 frames at ISO800, f/4, 14mm, 15s each, taken in quick successsion; the departure image used 12 frames at ISO800, f/5, 29mm, 30s each. The high ISO was chosen partly in order to give me a chance to compose and track, partly to ensure the ISS showed up bright against the background. Both apertures are fairly wide to maximize the light captured yet give a reasonable depth of field in the landscape given the wide-angle focal lengths in use (I had pre-focussed the camera on infinity half an hour before setting out). High-ISO sensor noise is thermal and therefore random; however, long-exposure sensor noise gives a fixed pattern of hot and dead pixels. Therefore, by keeping the exposures short at 15-30s I was able to pan between shots, aiding the composition (the ISS’ path is subject to slight changes at the last minute), meaning all pixels could be calculated from more than one image with spatial offsets – stacking reduces image-noise. Finally, I took a dark frame (with the lens-cap on) to record the actual noise profile.

Initial RAW conversion used RawTherapee in order to subtract the dark-frame; images were stitched together using Hugin and enfuse biassed toward image entropy for high quality landscape and sky tones; because the averaging process reduced the intensity of the ISS’s track, I further blended the intermediate aligned images using ImageMagick and the maximum operator and overlaid the results selectively using the GIMP. Final colour toning and spatial control (high- and low-pass filters) was done in Darktable.

Update 2013-06-18: the approach photo is now available for prints or download at 500px.