There is a trope that photography involves taking a single RAW image, hunching over the desktop poking sliders in Lightroom, and publishing one JPEG; if you want less noise you buy noise-reduction software; if you want larger images, you buy upscaling software. It’s not the way I work.
I prefer to make the most of the scene, capturing lots of real-world photons as a form of future-proofing. Hence I was pleased to be able to fulfil a print order last year that involved making a 34″-wide print from an image captured on an ancient Lumix GH2 many years ago. Accordingly, I’ve been blending multiple source images per output, simply varying one or two dimensions: simple stacking, stacking with sub-pixel super-resolution, HDR, panoramas and occasionally focus-stacking as the situation demands.
I do have a favoured approach, which is to compose the scene as closely as possible to the desired image, then shoot hand-held with HDR bracketing; this combines greater dynamic range, some noise-reduction and scope for super-resolution (upscaling).
I have also almost perfected a purely open-source workflow on Linux with scope for lots of automation – the only areas of manual intervention were setting the initial RAW conversion profile in RawTherapee and the collation of images into groups in order to run blending in batch.
After a while, inevitably, it was simply becoming too computationally intensive to be upscaling and blending images in post, so I bought an Olympus Pen-F with a view to using its high-resolution mode, pushing the sub-pixel realignment into hardware. That worked, and I could enjoy two custom setting presets (one for HDR and allowing walk-around shooting with upscaling, one for hi-res mode on a tripod), albeit with some limitations – no more than 8s base exposure (hence exposure times being quoted as “8x8s”), no smaller than f/8, no greater than ISO 1600. For landscape, this is not always ideal – what if 64s long exposure doesn’t give adequate cloud blur, or falls between one’s ND64 little- and ND1000 big-stopper filters? What if the focal length and subject distance require f/10 for DoF?
All that changed when I swapped all the Olympus gear for a Pentax K-1 a couple of weekends ago. Full-frame with beautiful tonality – smooth gradation and no noise. A quick test in the shop and I could enable both HDR and pixel-shift mode and save RAW files (.PEF or .DNG) and in the case of pixel-shift mode, was limited to 30s rather than 8s – no worse than regular manual mode before switching to bulb timing. And 36 megapixels for both single and multi-shot modes. Done deal.
One problem: I spent the first evening collecting data, er, taking photos at a well-known landscape scene, came home with a mixture of RAW files, some of which were 40-odd MB, some 130-odd MB; so obviously multiple frames’ data was being stored. However, using RawTherapee to open the images – either PEF or DNG – it didn’t seem like the exposures were as long as I expected from the JPEGs.
A lot of reviews of the K-1 concentrate on pixel-shift mode, saying how it has options to correct subject-motion or not, etc, and agonizing over how which commercial RAW-converter handles the motion. What they do not make clear is that the K-1 only performs any blend when outputting JPEGs, which is also used as the preview image embedded in the RAW file; the DNG or PEF files are simply concatenations of sub-frames with no processing applied in-camera.
On a simple test using pixel-shift mode with the camera pointing at the floor for the first two frames and to the ceiling for the latter two, it quickly becomes apparent that RawTherapee is only reading the first frame within a PEF or DNG file and ignoring the rest.
Disaster? End of the world? I think not.
If you use dcraw to probe the source files, you see things like:
zsh, rhyolite 12:43AM 20170204/ % dcraw -i -v IMGP0020.PEF

Filename: IMGP0020.PEF
Timestamp: Sat Feb  4 12:32:52 2017
Camera: Pentax K-1
ISO speed: 100
Shutter: 30.0 sec
Aperture: f/7.1
Focal length: 31.0 mm
Embedded ICC profile: no
Number of raw images: 4
Thumb size:  7360 x 4912
Full size:   7392 x 4950
Image size:  7392 x 4950
Output size: 7392 x 4950
Raw colors: 3
Filter pattern: RG/GB
Daylight multipliers: 1.000000 1.000000 1.000000
Camera multipliers: 18368.000000 8192.000000 12512.000000 8192.000000
On further inspection, both PEF and DNG formats are capable of storing multiple sub-frames.
After a bit of investigation, I came up with an optimal set of parameters to dcraw with which to extract all four images with predictable filenames, making the most of the image quality available:
dcraw -w +M -H 0 -o /usr/share/argyllcms/ref/ProPhotoLin.icm -p "/usr/share/rawtherapee/iccprofiles/input/Pentax K200D.icc" -j -W -s all -6 -T -q 2 -4 "$filename"
Explanation:
- -w = use camera white-balance
- +M = use the embedded colour matrix if possible
- -H 0 = leave the highlights clipped, no rebuilding or blending
(if I want to handle highlights, I’ll shoot HDR at the scene)
- -o = use ProPhotoRGB-linear output profile
- -p = use RawTherapee’s nearest input profile for the sensor (in this case, the K200D)
- -j = don’t stretch or rotate pixels
- -W = don’t automatically brighten the image
- -s all = output all sub-frames
- -6 = 16-bit output
- -T = TIFF instead of PPM
- -q 2 = use the PPG demosaicing algorithm
(I compared all 4 options and this gave the biggest JPEG = hardest to compress = most image data)
- -4 = Lienar 16-bit
At this point, I could hook in to the workflow I was using previously, but instead of worrying how to regroup multiple RAWs into one output, the camera has done that already and all we need do is retain the base filename whilst blending.
After a few hours’ hacking, I came up with this little zsh shell function that completely automates the RAW conversion process:
pic.2.raw () {
        for i in *.PEF *.DNG
        do
                echo "Converting $i"
                base="$i:r"
                dcraw -w +M -H 0 -o /usr/share/argyllcms/ref/ProPhotoLin.icm -p "/usr/share/rawtherapee/iccprofiles/input/Pentax K200D.icc" -j -W -s all -6 -T -q 2 -4 "$i"
                mkdir -p converted
                exiftool -overwrite_original_in_place -tagsfromfile "$i" ${base}.tiff
                exiftool -overwrite_original_in_place -tagsfromfile "$i" ${base}_0.tiff
                mv ${base}.tiff converted 2> /dev/null
                mkdir -p coll-$base coll-$base-large
                echo "Upscaling"
                for f in ${base}_*.tiff
                do
                        convert -scale "133%" -sharpen 1.25x0.75 $f coll-${base}-large/${f:r}-large.tiff
                        exiftool -overwrite_original_in_place -tagsfromfile "$i" coll-${base}-large/${f:r}-large.tiff
                done
                mv ${base}_*tiff coll-$base 2> /dev/null
        done
        echo "Blending each directory"
        for i in coll-*
        do
          (cd $i && align_image_stack -a "temp_$i_" *.tif? && enfuse -o "fused_$i.tiff" temp_$base_*.tif \
           -d 16 \
           --saturation-weight=0.1 --entropy-weight=1 \
           --contrast-weight=0.1 --exposure-weight=1)
        done
        echo "Preparing processed versions"
        mkdir processed
        (
                cd processed && ln -s ../coll*/f*f . && ln -s ../converted/*f .
        )
        echo "All done"
}
Here’s how the results are organized:
- we start from a directory with source PEF and/or DNG RAW files in it
- for each RAW file found, we take the filename stem and call it $base
- each RAW is converted into two directories, coll-$base/ consisting of the TIFF files and fused_$base.tiff, the results of aligning and enfuse-ing
- for each coll-$base there is a corresponding coll-$base-large/ with all the TIFF images upscaled 1.33 (linear) times before align+enfusing
This gives the perfect blend of super-resolution and HDR when shooting hand-held
The sharpening coefficients given to ImageMagick’s convert(1) command have been chosen from a grid comparison; again the JPEG conversion is one of the largest showing greatest image detail.
- In the case of RAW files only containing one frame, it is moved into converted/ instead for identification
- All the processed outptus (single and fused) are collated into a ./processed/ subdirectory
- EXIF data is explicitly maintained at all times.
The result is a directory of processed results with all the RAW conversion performed using consistent parameters (in particular, white-balance and exposure come entirely from the camera only) so, apart from correcting for lens aberrations, anything else is an artistic decision not a technical one. Point darktable at the processed/ directory and off you go.
All worries about how well “the camera” or “the RAW converter” handle motion in the subject in pixel-shift mode are irrelevant when you take explicit control over it yourself using enfuse.
Happy Conclusion: whether I’m shooting single frames in a social setting, or walking around doing hand-held HDR, or taking my time to use a tripod out in the landscape (each situation being a user preset on the camera), the same one command suffices to produce optimal RAW conversions.
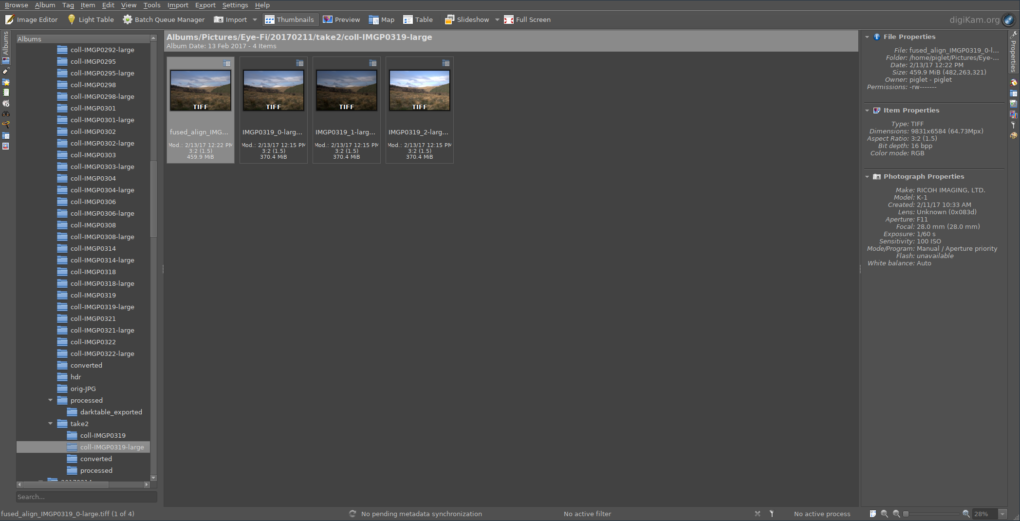
digiKam showing a directory of K-1 RAW files ready to be converted
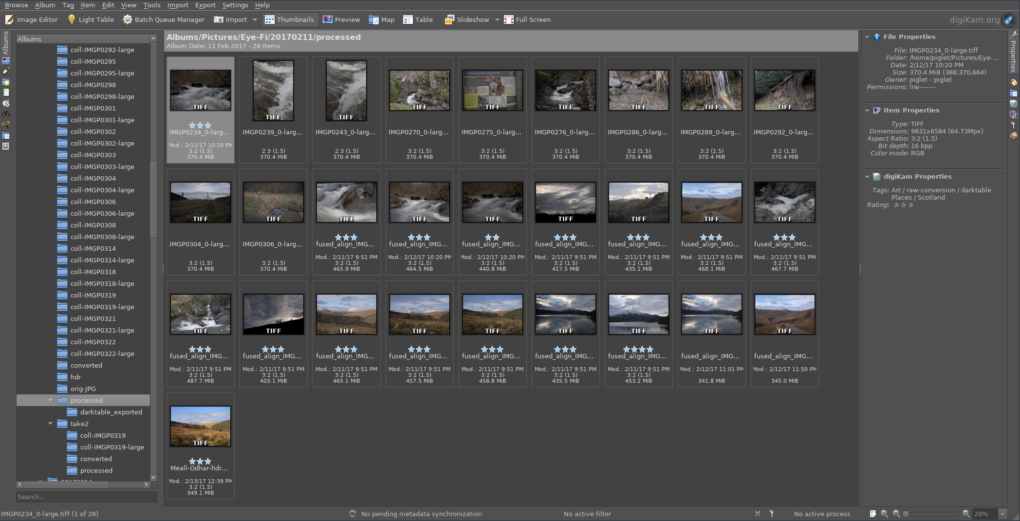
One of the intermediate directories, showing 1.33x upscaling and HDR blending
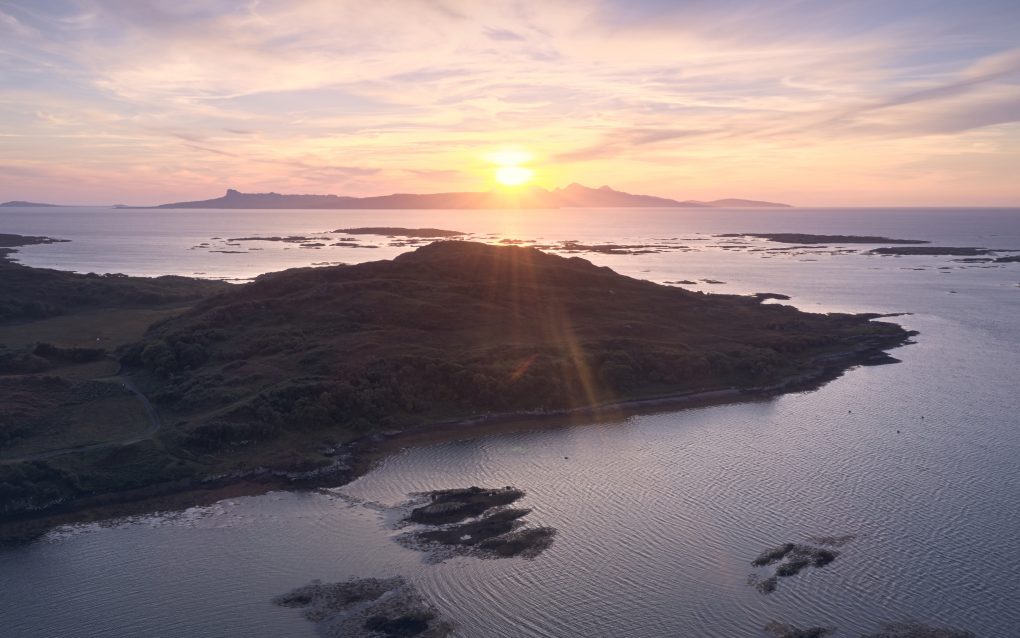
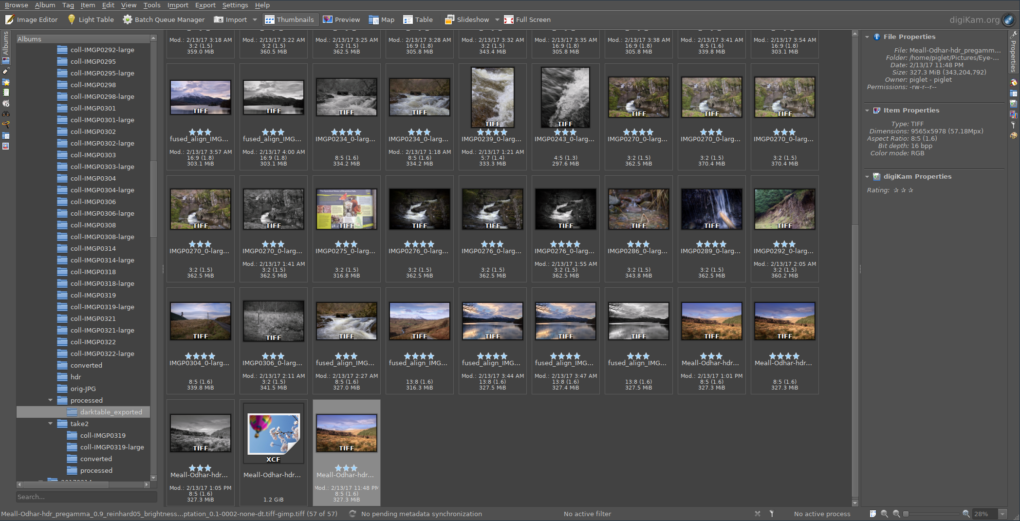
Results of converting all RAW files – now just add art!
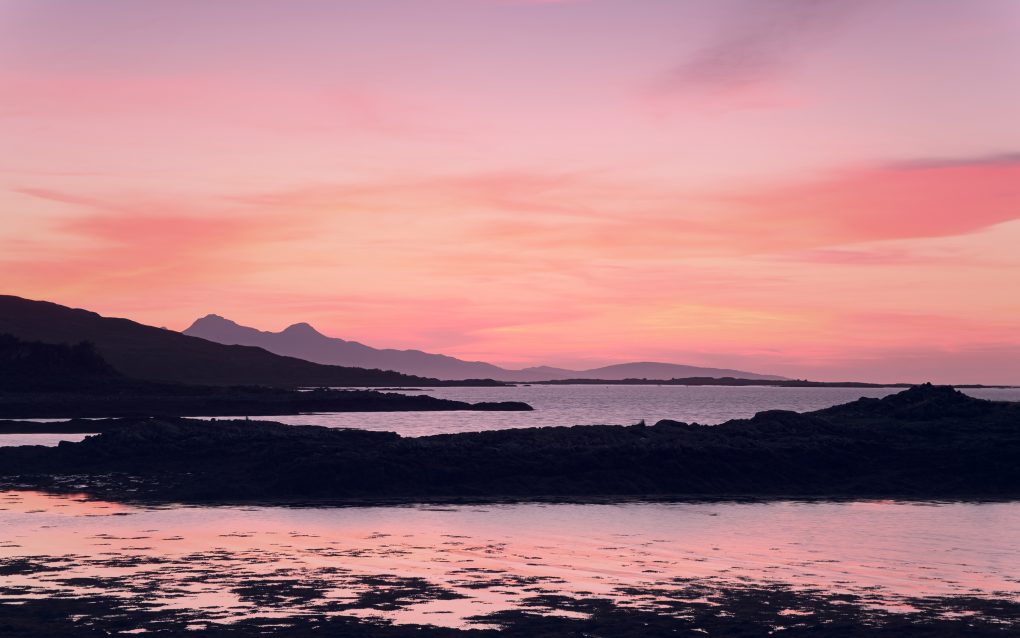
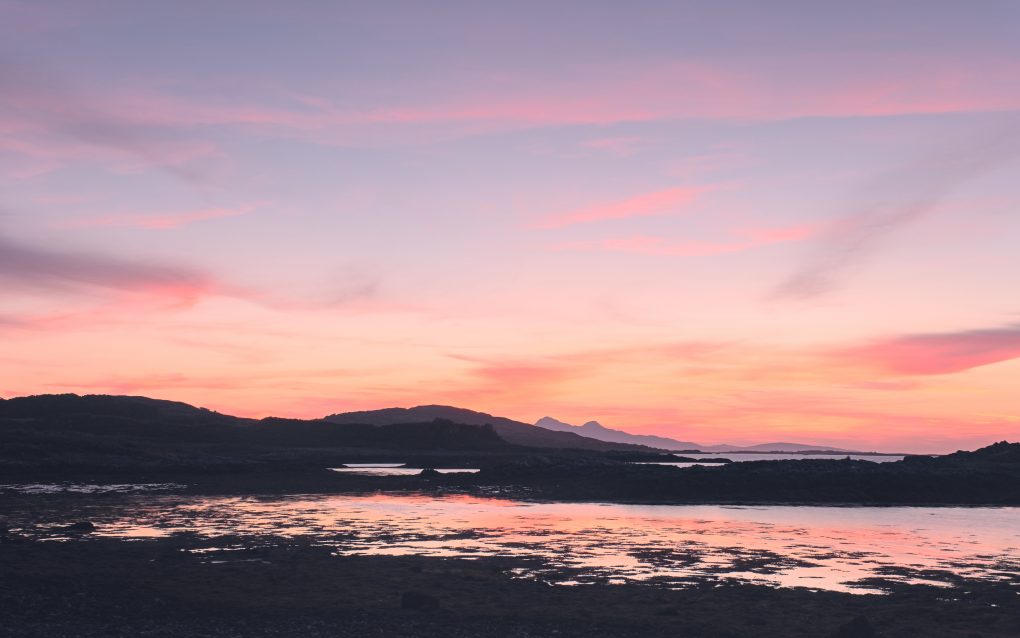
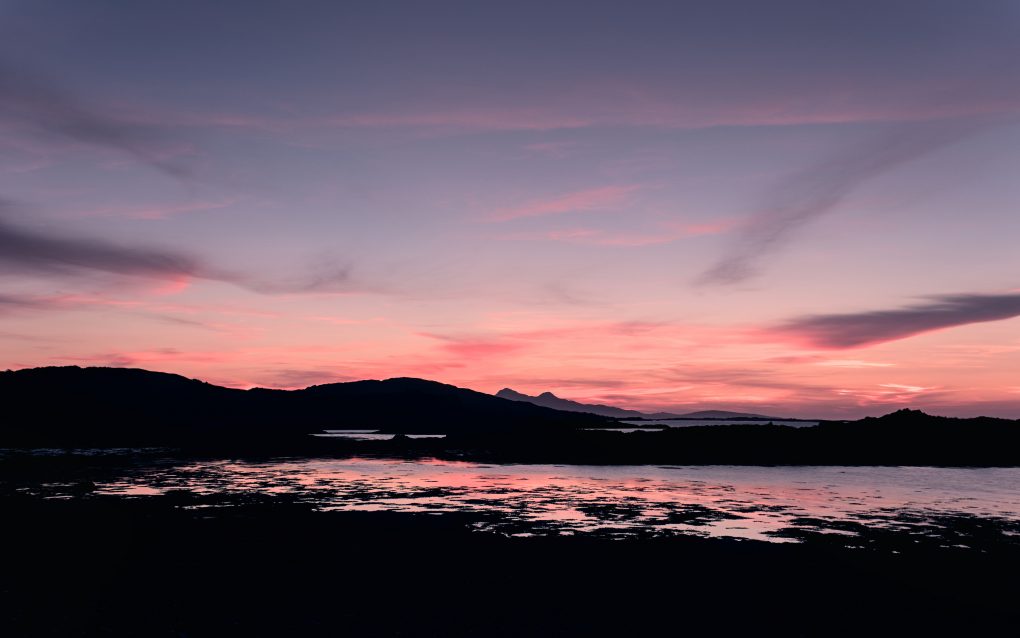
The results of running darktable on all the processed TIFFs – custom profiles applied, some images converted to black+white, etc
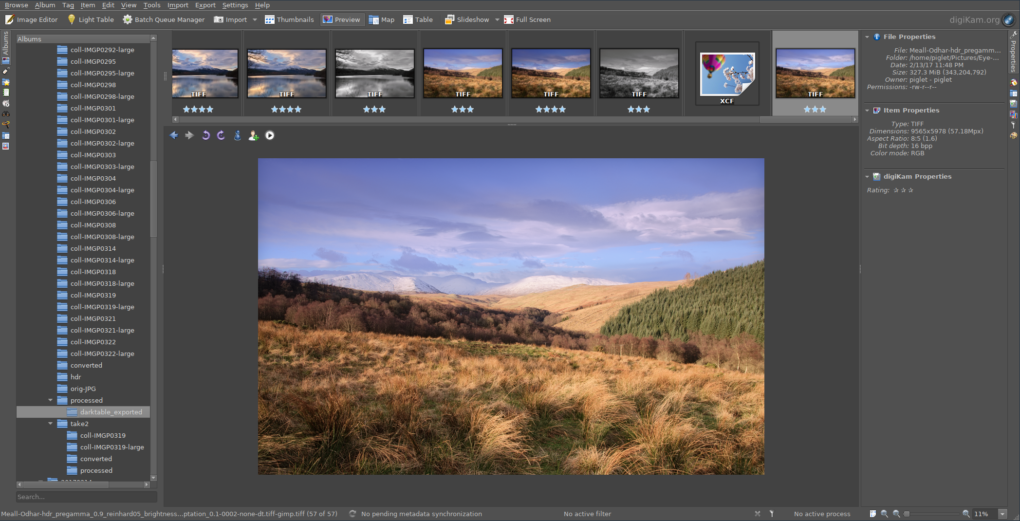
One image was particularly outstanding so has been processed through LuminanceHDR and the Gimp as well
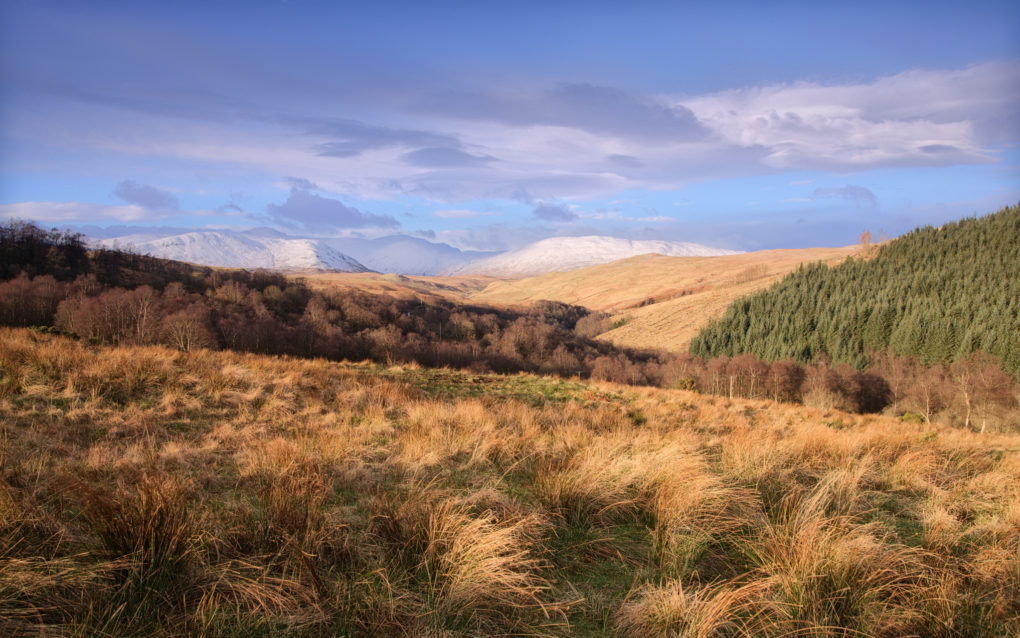
Meall Odhar from the Brackland Glen, Callander