Mine, my only, my preciousss!
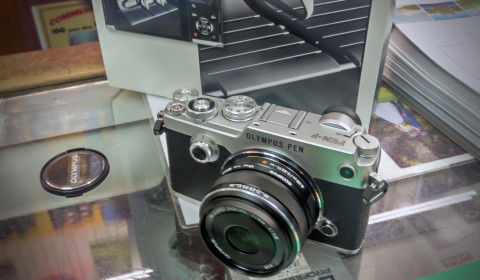
There’s only one camera shop left in Perth and yesterday I was their first customer to buy the Olympus Pen-F . It’s not released on Amazon until Monday…
So it’s been the talk of the web. It’s undeniably a beautiful camera, with a rangefinder design reminiscent of its film camera predecessor of the same name. I’ve spent much of the last couple of days putting it through its paces.
I’m pleased to report it has a reasonable sturdy weight to it thanks to the aluminium/magnesium alloy shell. It feels just great in one’s hands. Well, my hands, anyway.
How does it perform?
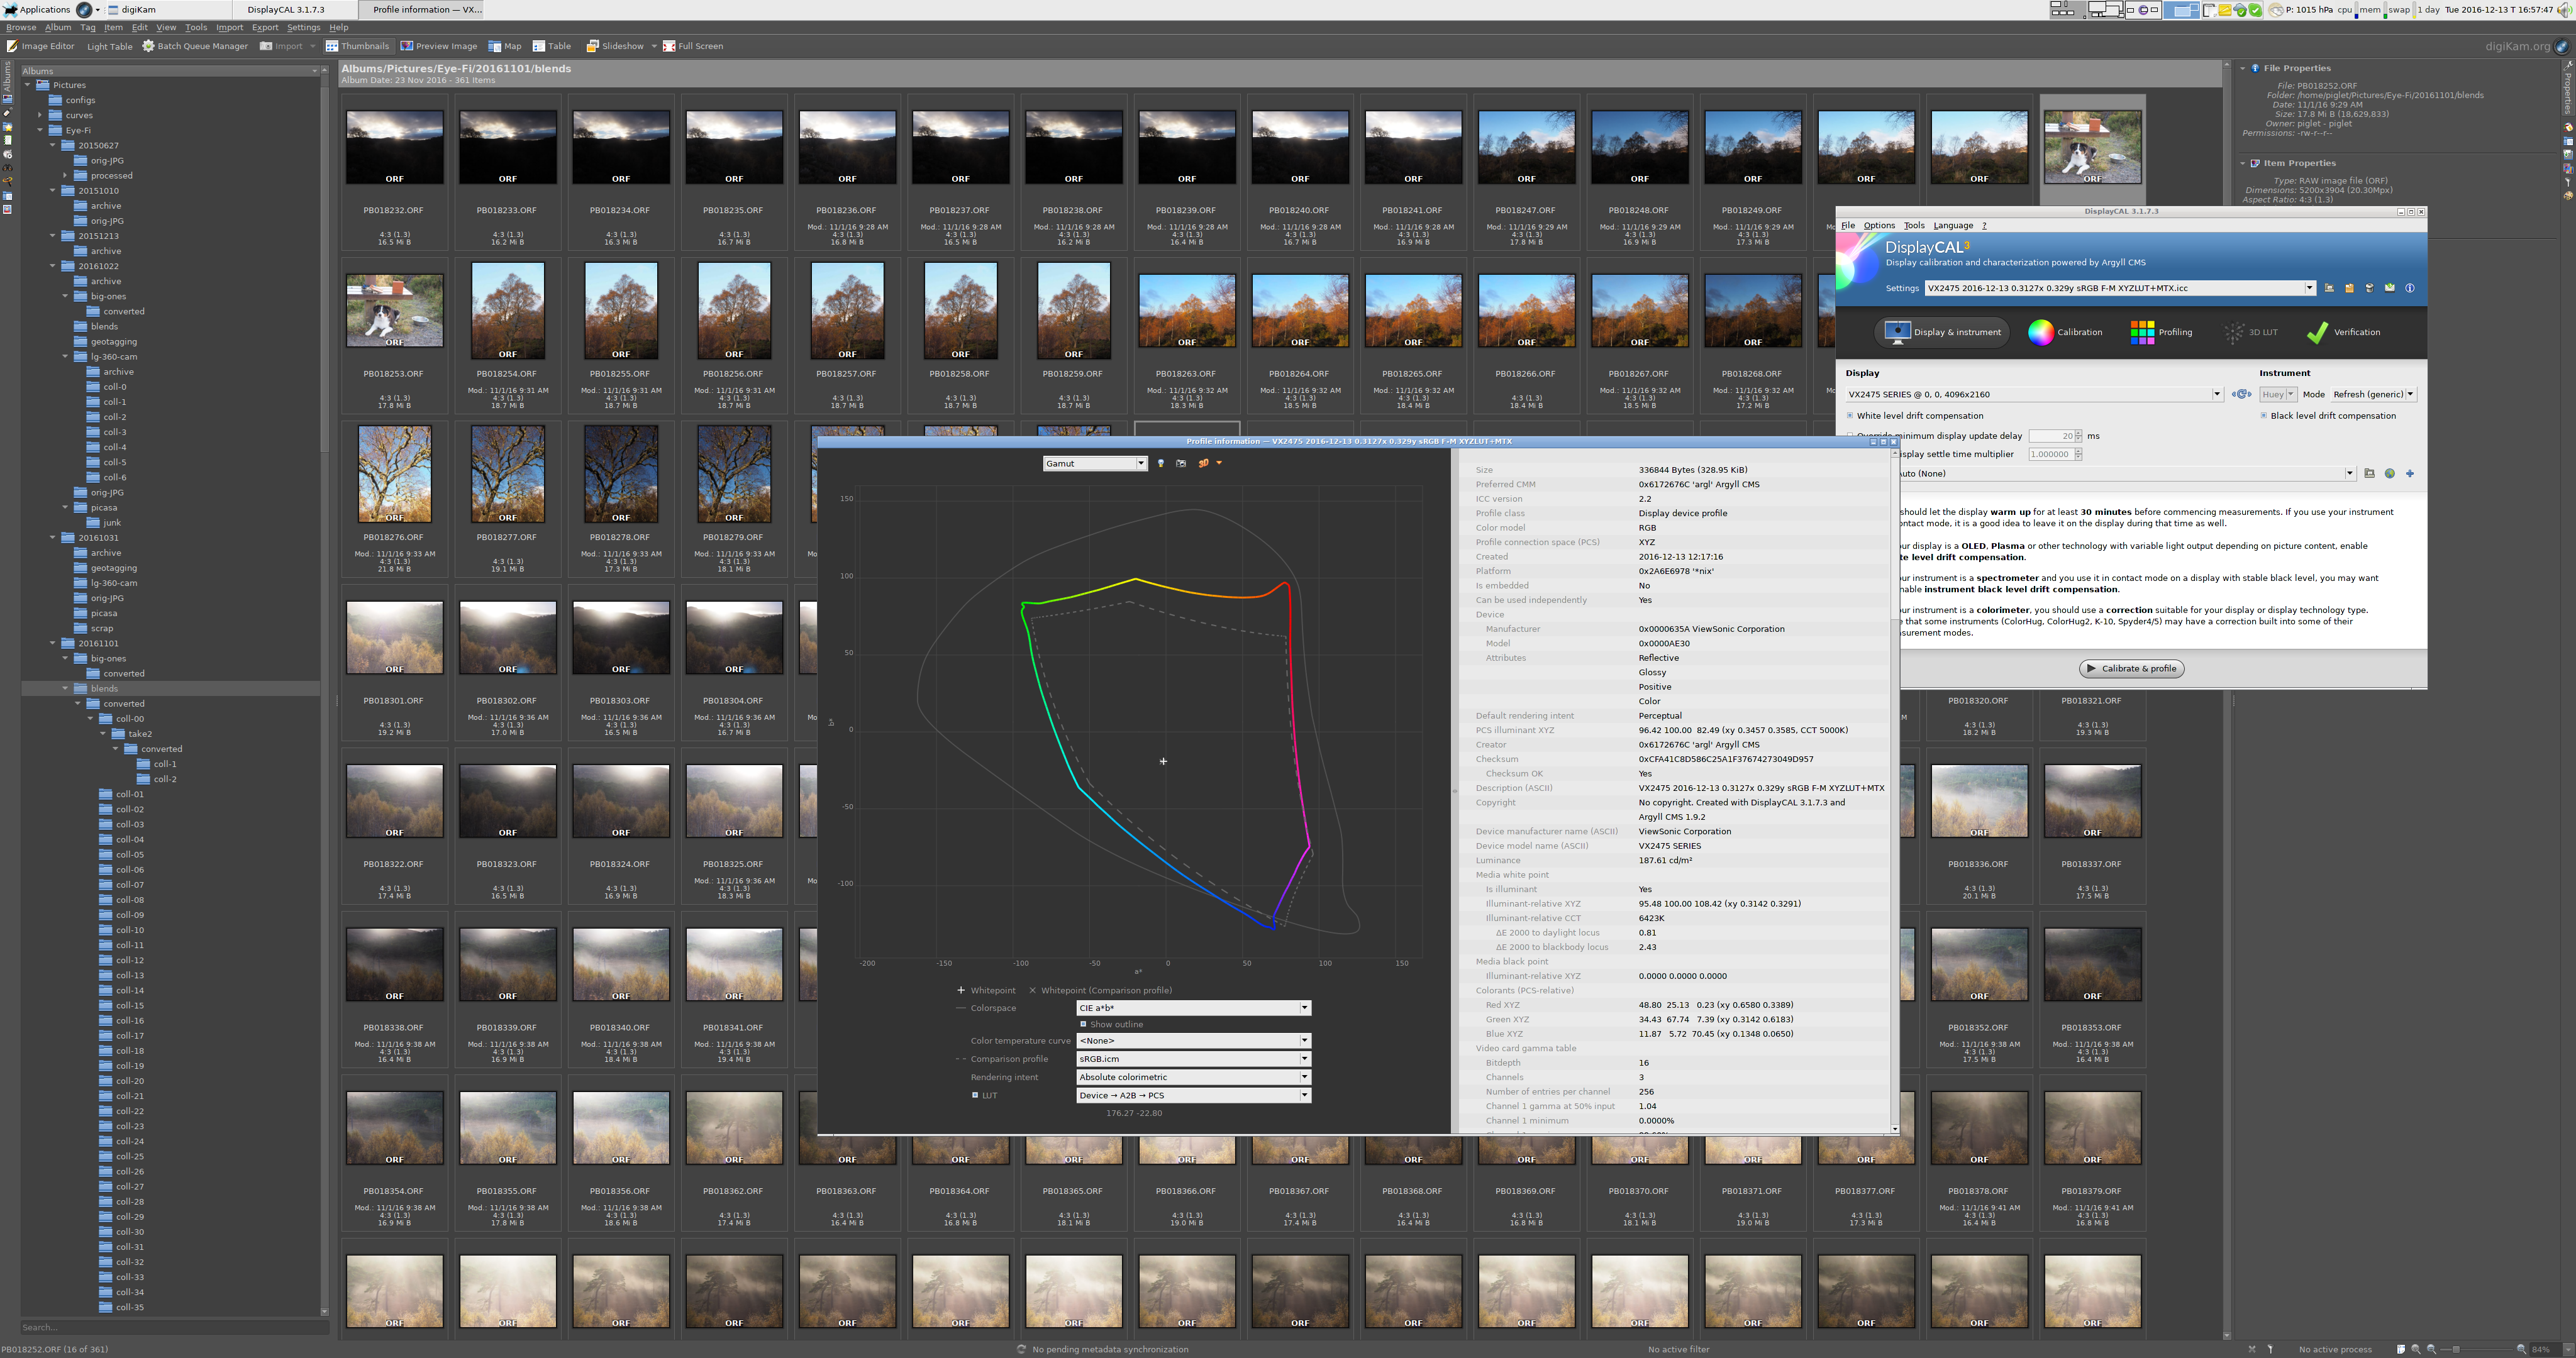
First, software: it’ll be a little while before Adobe support it, but for us open-source fans, RawTherapee already supports the new .ORF RAW images in both 20-megapixel and hi-resolution 80-megapixel modes. (It seems to be the only open-source raw-converter to do so, at the time of writing.)
Second, I’ve been keeping dark-frame reference images for a few cameras, so I can compare its noise levels against predecessors and competitors. (Method: put the lens-cap on, place camera upside-down on desk, and then at every ISO from 6400 to 100 and below, at various shutter-speeds from 1/250s to 30s, take a couple of photos. A quick Python script reads the images, converts to greyscale and outputs various properties including the average lightness value per pixel.) Results aggregated by camera model and ISO with median-average.)
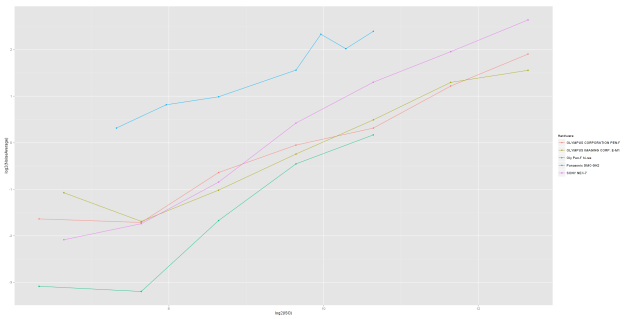
log-log plot of luminosity noise for various camera models by ISO
The graph shows 3 things, none surprising but pleasant to see confirmation:
- The Lumix GH2 really was awful for sensor quality. Its ISO160 is the Sony NEX-7’s ISO 800.
- There is a reasonable progression from Lumix GH2 to Sony NEX-7 to Olympus E-M1 and Pen-F; at native resolution, the E-M1 and Pen-F are much of a muchness for L-channel noise.
- The real game-changer is the high-resolution mode on the Pen-F – good, since this is one of the main reasons I bought the camera. This is to be expected: it uses the in-body stabilization to blend 8 images, four of them offset by 1 pixel (so it has full chroma bit-depth at every pixel) and four offset by half a pixel (so it has double the linear luminosity resolution). The result is about 1.5 stops better noise-performance.
Hi-res mode comes with a few limitations: the maximum ISO is 1600; aperture only goes down to f/8; shutter speeds only as long as 8s. You can enable picture modes such as natural, vivid, monochrome etc; however it does not work with bracketing or HDR mode: for HDR, it’s best to work manually.
One interesting point in favour of high-resolution mode: it does not stress the lens’s performance; at no point does it take an image of more than the native resolution, so if the MTF curves of contrast vs spatial frequency are adequate for 20 megapixels, the lens is also good enough for 50-80 (more later).
Hands-on: what’s it like in the field?
I took both current cameras out for a drive around the Highlands of Perthshire this afternoon, the NEX-7 with its kit 18-55mm lens and the Pen-F attached to a new 17mm f/1.8 prime.
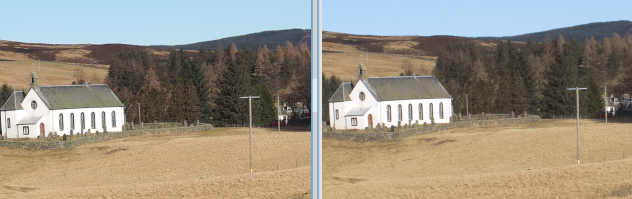
Here’s a quick overview of four images: one from the NEX-7, two straight from the Pen-F’s own JPEGs out of camera (just downsized for presentation here) and one converted in RawTherapee:
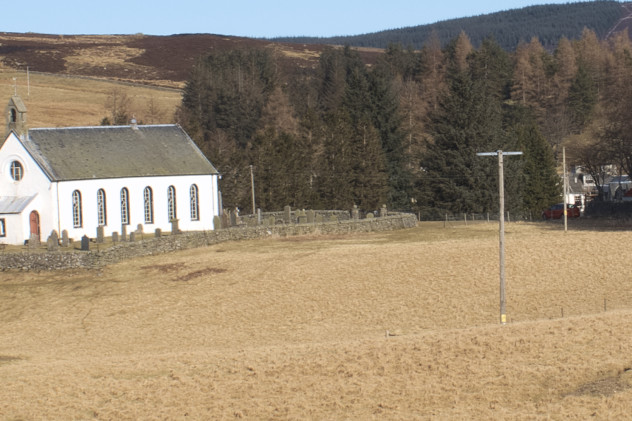
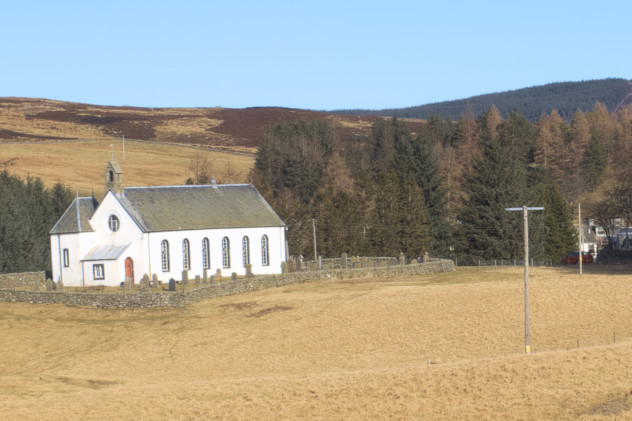
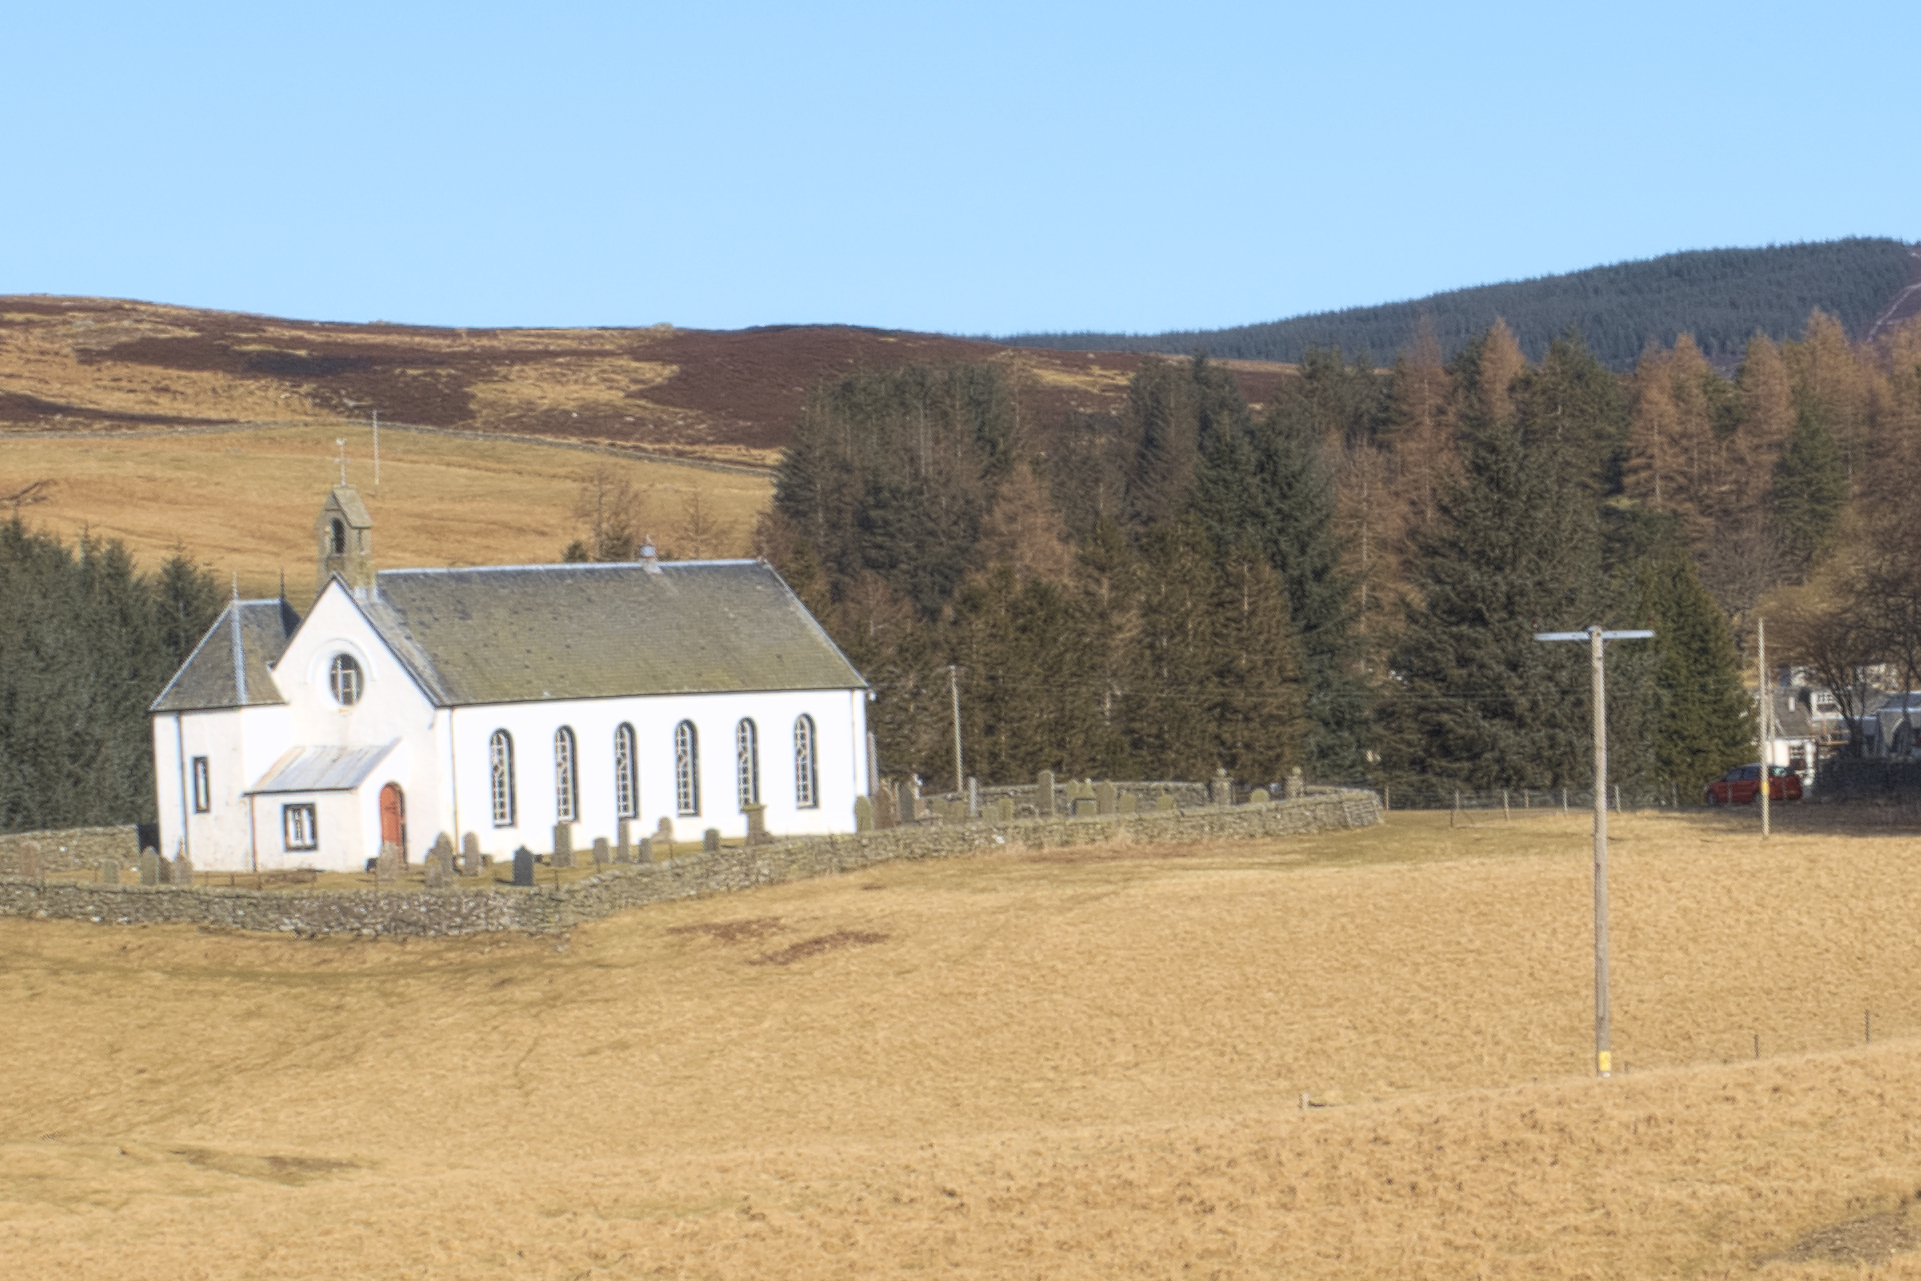
My first real image from the Pen-F: Amulree and Strathbraan Parish Church at the end of Glen Quaich.
The Olympus images all have the same white-balance; I set the ORF and NEF files to the same whitebalance as the Pen-F chose automatically. It’s interesting that the sky is a proper shade of blue in the converted RAW; this might be a difference of profile between RawTherapee and the camera’s own internal JPEG engine. (Fine by me – I much prefer solid blue skies to cyan ones.)
What about the details?
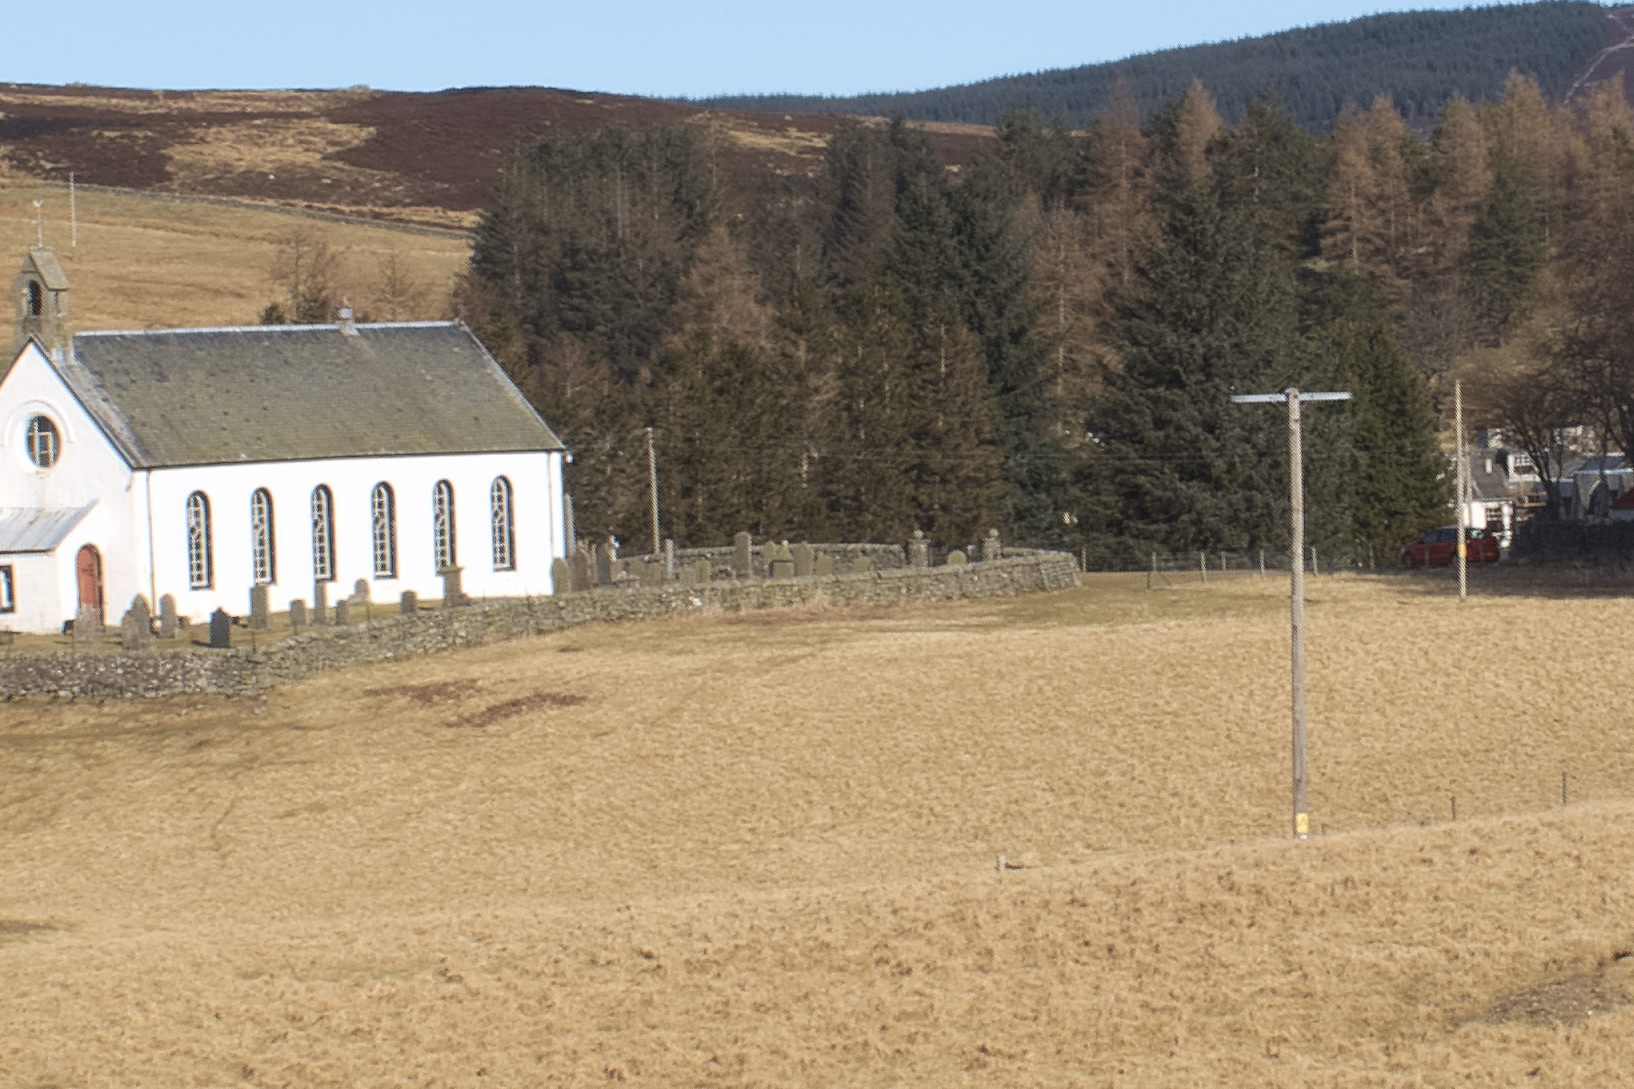
Now this is a hard question. No doubt the resolution suffers and 80MPel is rather optimistic. Here we compare the NEX-7 against the 20MPel and 80MPel RAW files with no sharpening or detail controls enabled at all:
Obviously the 80MPel image is going to take a lot ofsharpening to bring it up to scratch.
My preferred sharpening algorithm with the NEX-7 has long been deconvolution. However, despite tweaking the radius, strength, dampening and iterations controls a lot, RawTherapee doesn’t seem to have the strength to sharpen the 80MPel hi-res RAW.
The out-of-camera JPEG appears to have a cruder sharpening algorithm with a lot of local contrast, so I switched to unsharp mask. At 80MPel, with enough USM to render the individual stones in the dry stone wall adequately sharp, this reveals serious anti-aliassing issues around straight-line edges:
Pen-F edge-aliassing artifacts
These artefacts disappear when downsized to 50MPel in camera. Then again, the in-camera JPEG conversion is very contrasty and over-sharpened, so there’s room for improvement all-round:
In-camera JPEG conversion (20MPel) vs RawTherapee downscaled from 80MPel RAW
Update: by adjusting the USM parameters, I’ve removed much of the artifacts around edges. There are still problems where blades of grass have moved between source frames, but static objects with strong outlines no longer cause such problems.
disable edge-only and halo-detection, just use less USM to start with
There are other demosaicing algorithms in RawTherapee and other ways of sharpening (newly added wavelet support). Plenty of scope for experimenting to get the best out of this thing.
What’s the verdict?
I absolutely love using it. Where other cameras drive the megapixel race by giving increasingly large images for everything (40MPel+), this camera ticks along at a more than adequate native 20 megapixels for most purposes with the option of taking one’s time to crank out the tripod to make absolutely huge images. This suits me fine – I’ve spent so long doing similar image-stacking/super-resolution trickery as part of the post-processing workflow, it’s great to have the camera do it instead.
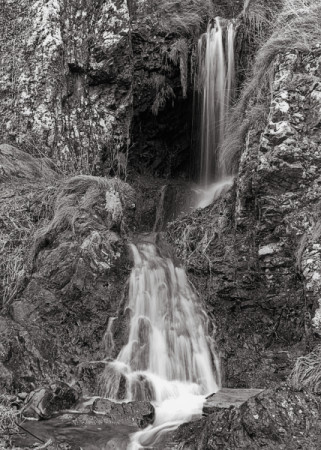
The in-body stabilization is excellent. I managed to hand-hold 10 frames at 1/10s at the Falls of Dochart, twice, without a single blurry image.
There are lots of other features to look forward to – I’ve never had the patience to try focus-stacking, but moving it in-camera is very appealing.
With a subtle adjustment to the brighter blues to cater for skies, I could probably live off the camera’s own JPEGs for many purposes.
New lenses and filter adapter rings have been ordered…
Gratuitous sample images
As if the above weren’t nice enough, here are three more images from this afternoon.


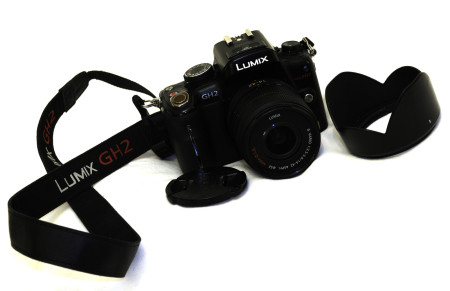 Nearly 3 years ago I spent the best part of 2 hours one afternoon in PCWorld, looking to kick the Canon habit and vacillating between a Nikon (as I recall, the D3100) and the Panasonic Lumix GH2.